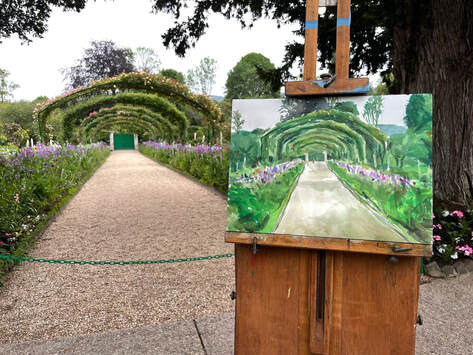
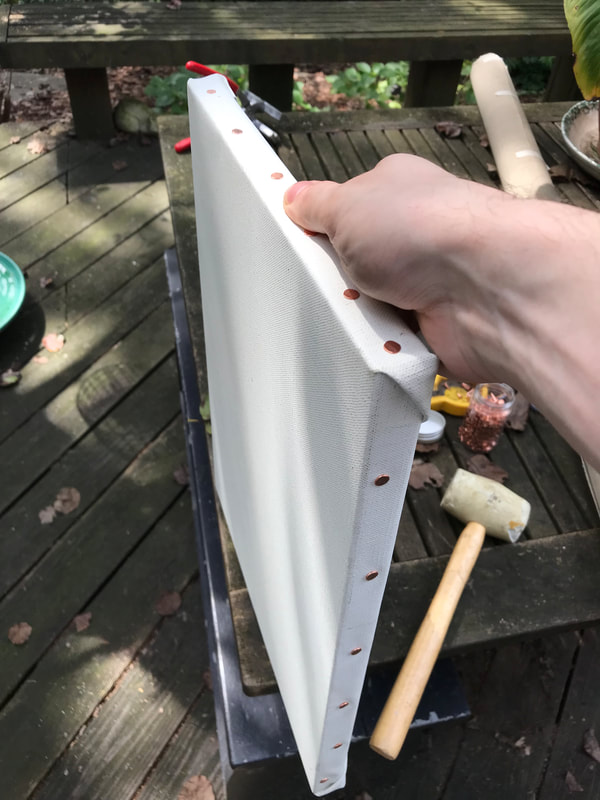
 It was overcast this morning, but it wasn't raining so I got into the garden around 7am to begin painting. I did a watercolor of the central path in the clos normand. This is my first official painting in Monet's garden in Giverny. It was surreal to be painting such an iconic scene and it's so cool to stand in the same spots as Monet and to have free rein to paint anywhere in the garden. After lunch I stretched some canvases. And the sun came out so I'm going to go to the water garden this evening to do an oil painting. I'm just sitting in the courtyard now and enjoying the weather. The light and atmosphere here is something that I've never experienced before; it makes the scenery very clear and easier to paint. I can see why Monet enjoyed it so much here and why he used the colors that he did. The Sennelier stretcher bars are really nice.
2 Comments
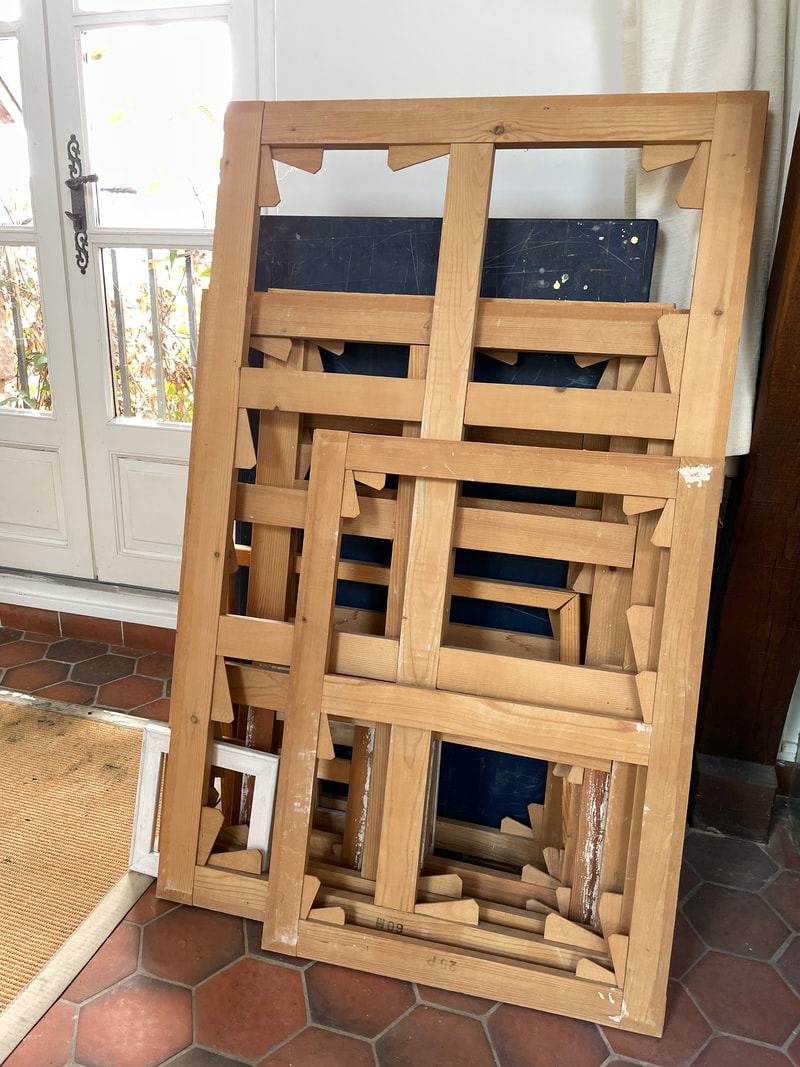
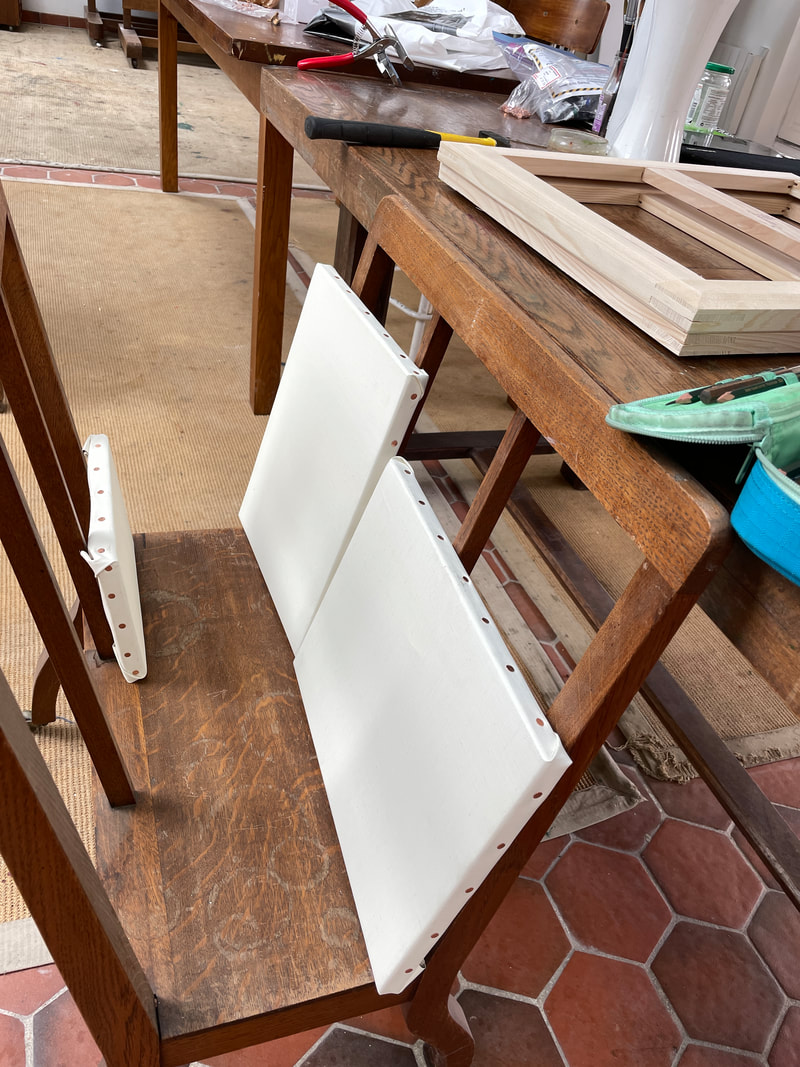
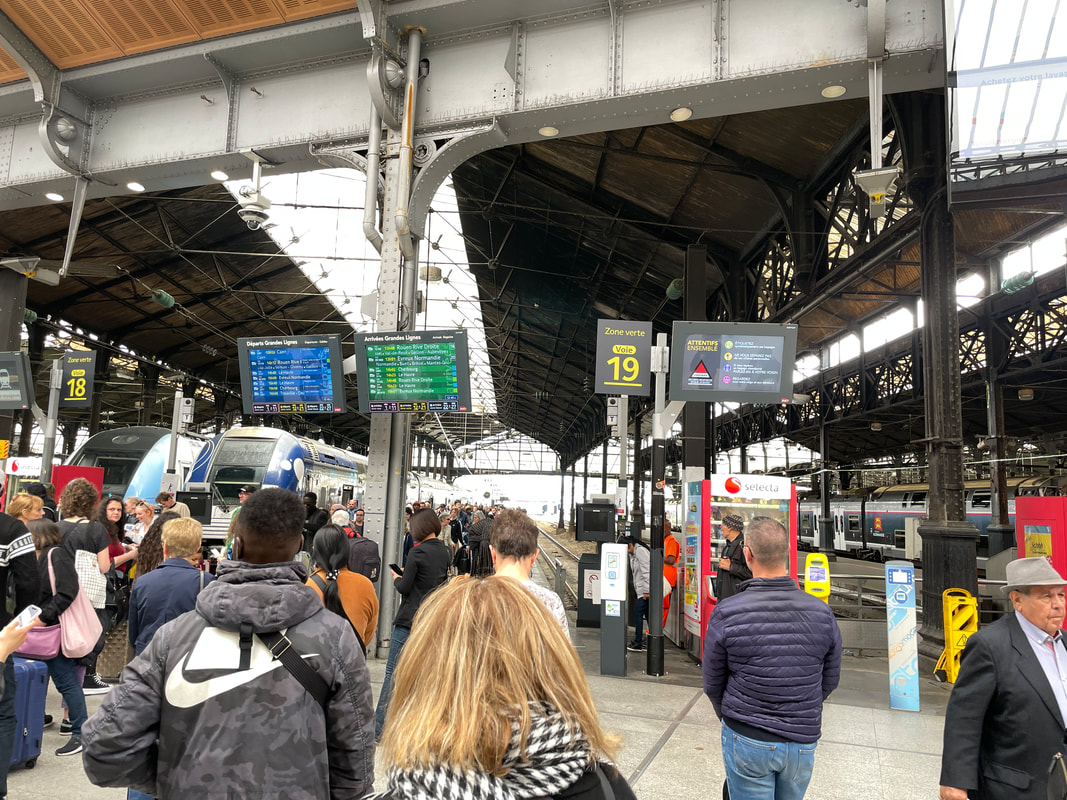
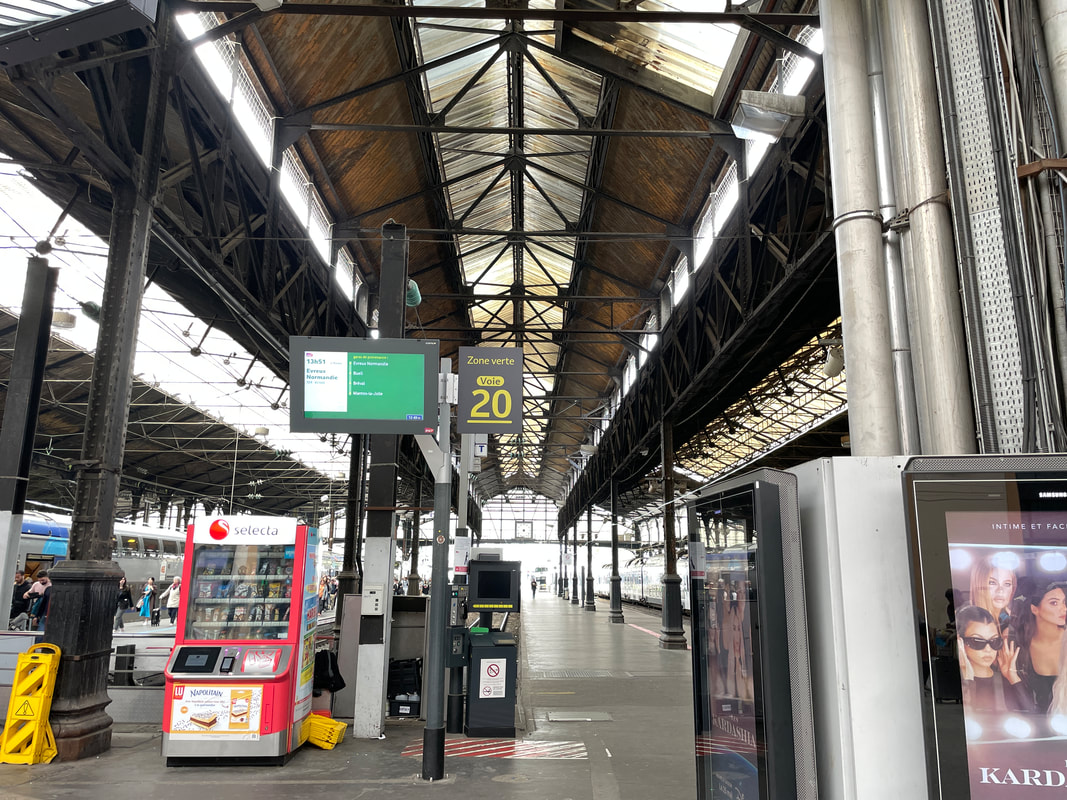
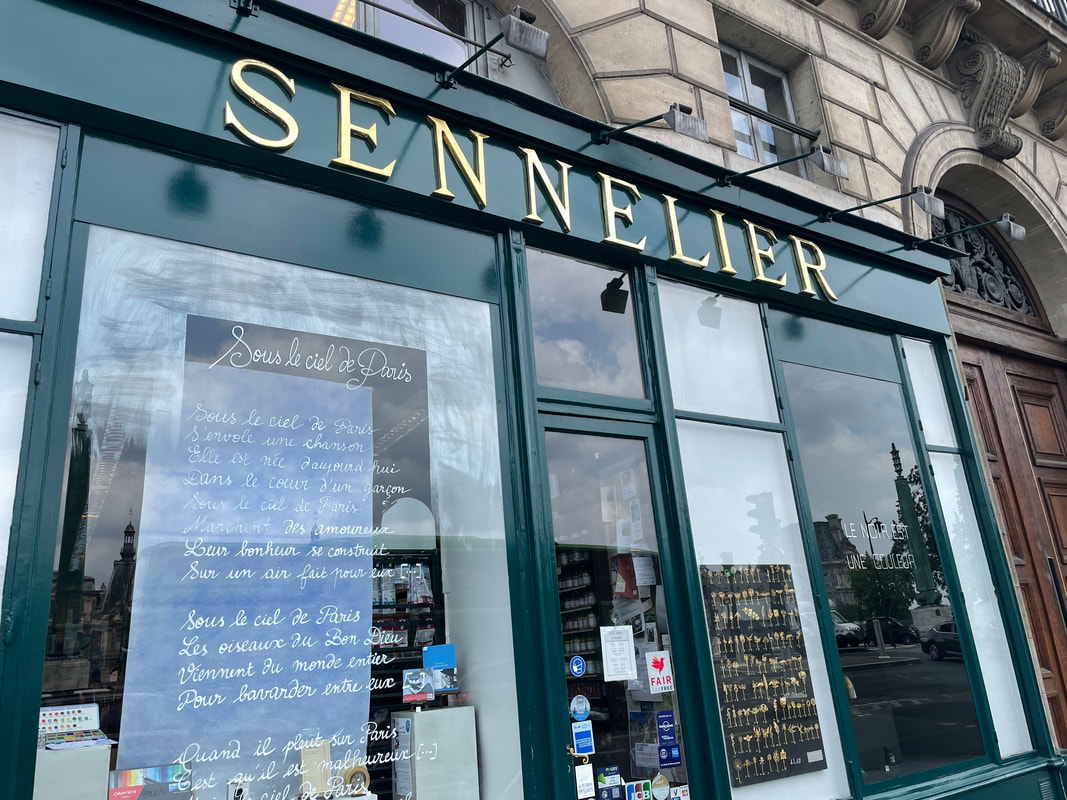
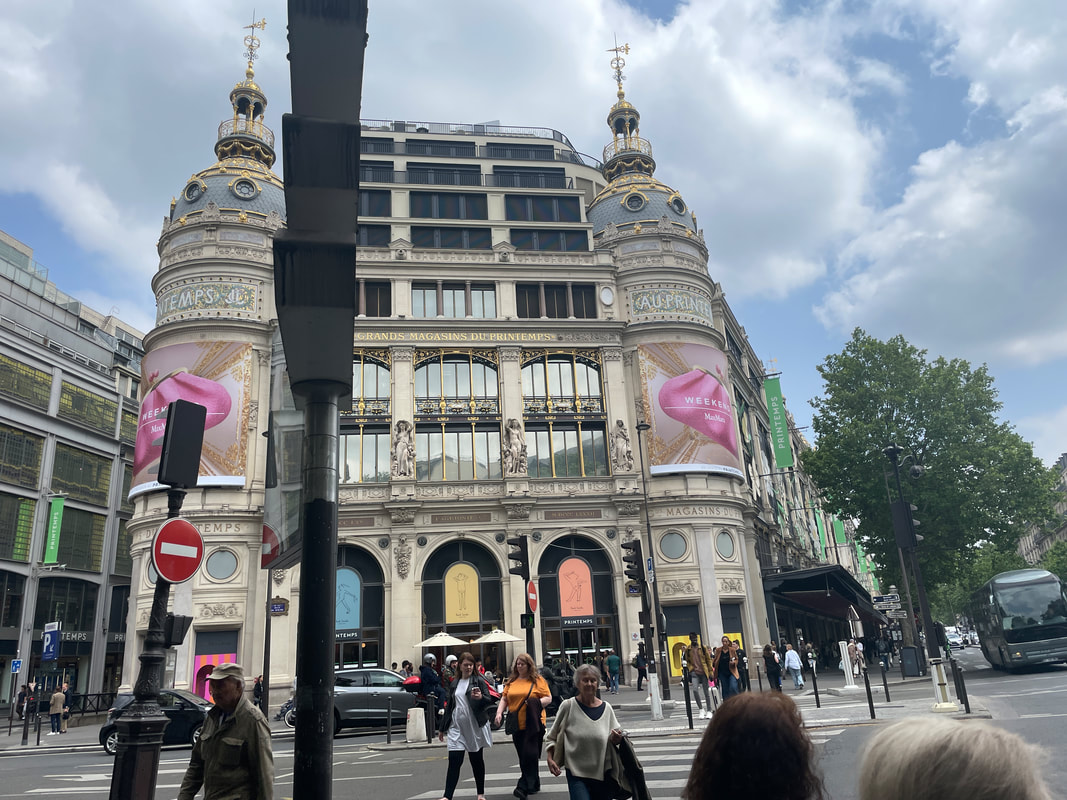
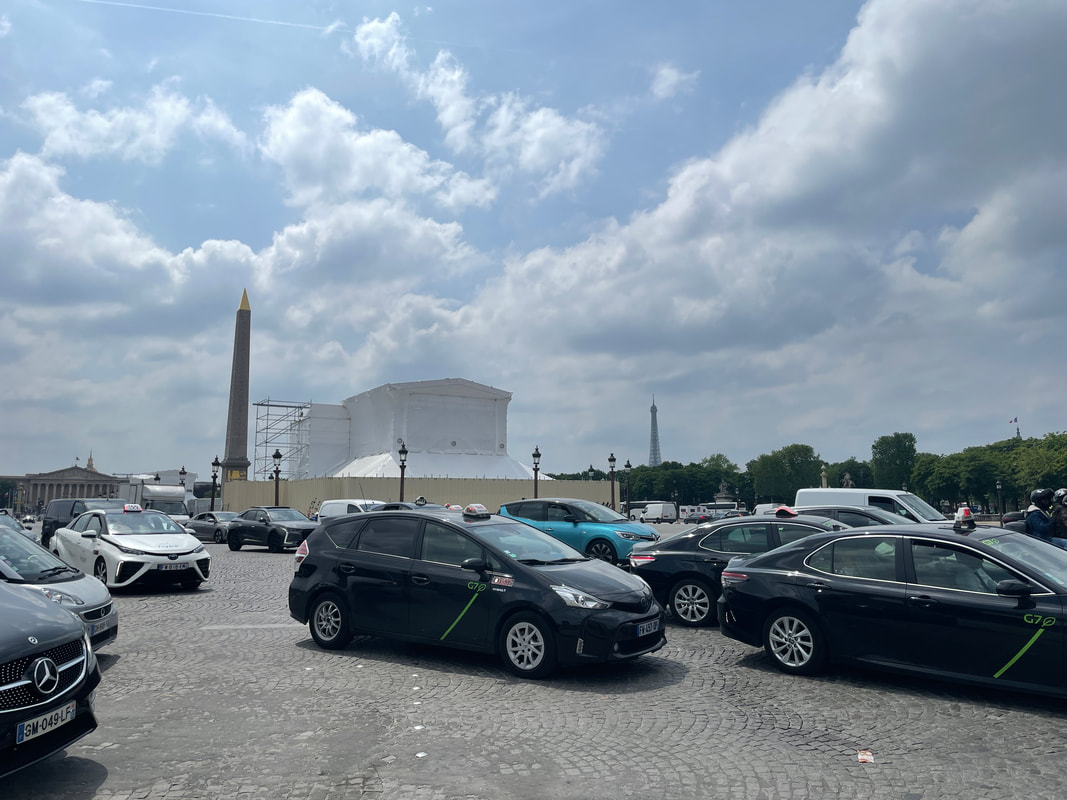
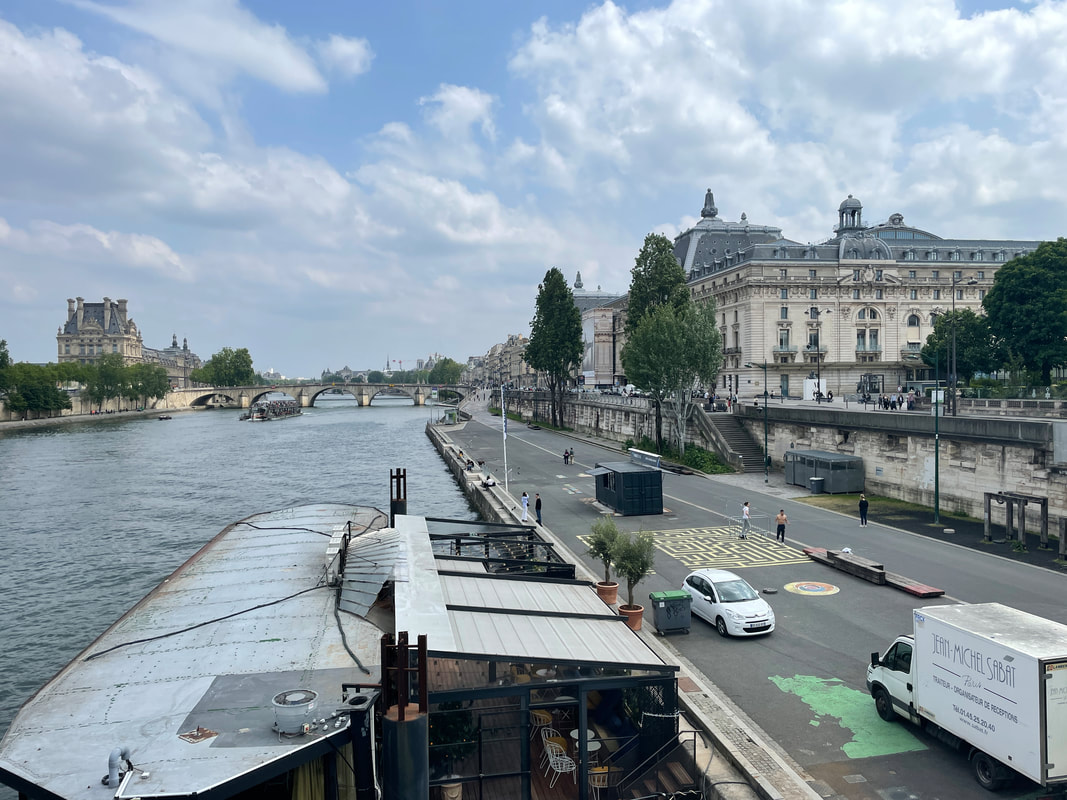
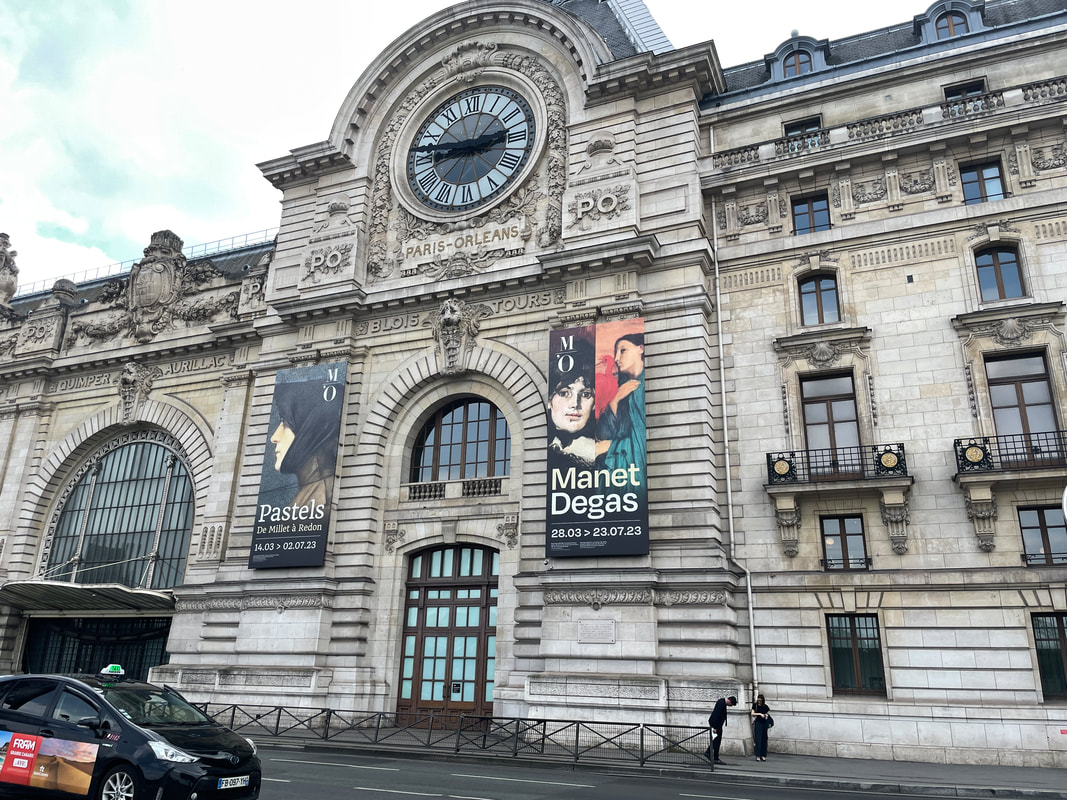
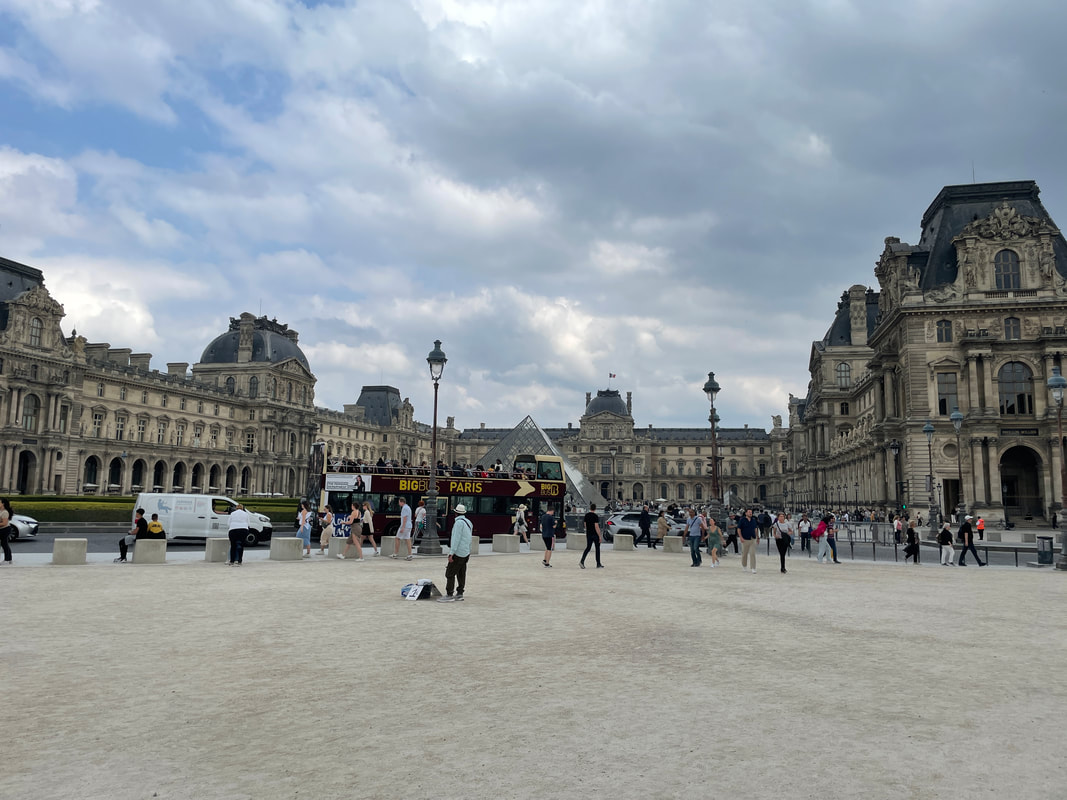
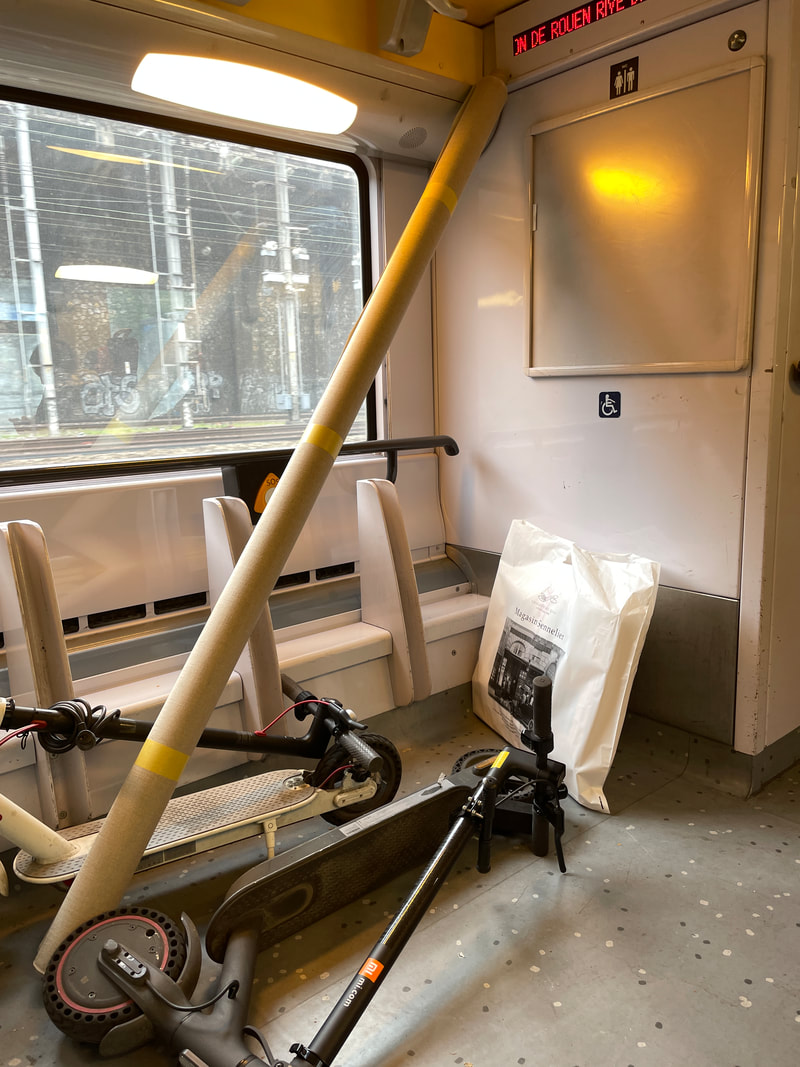
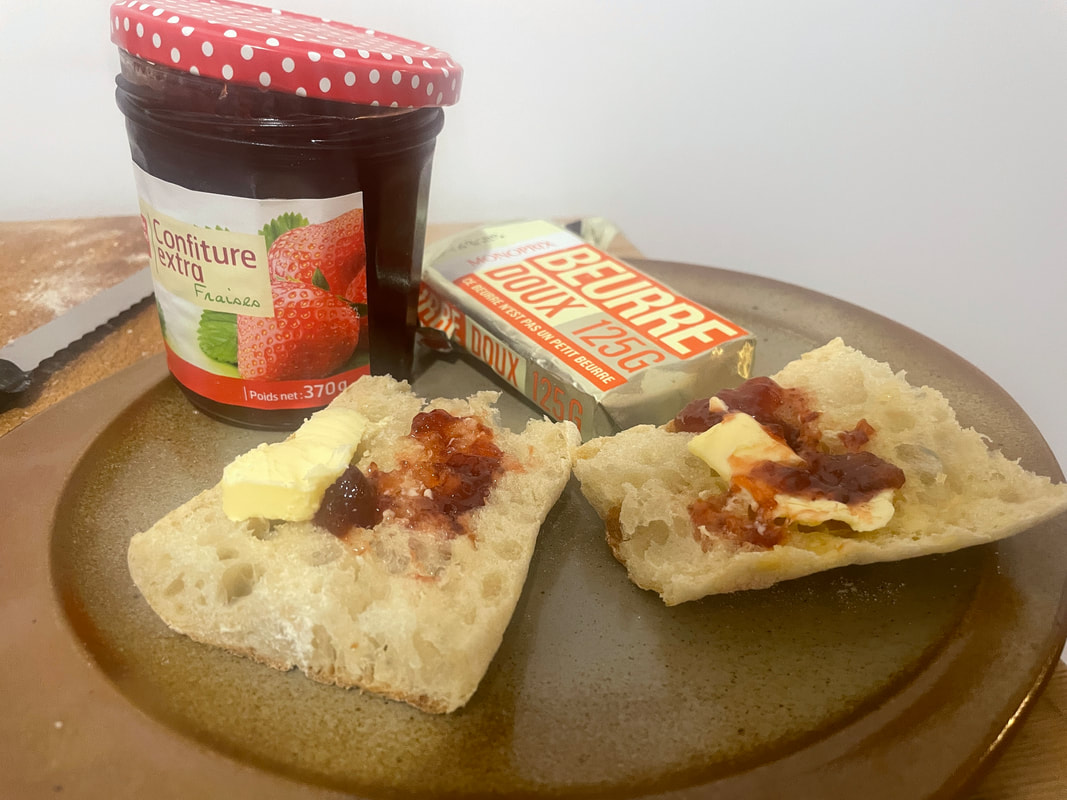
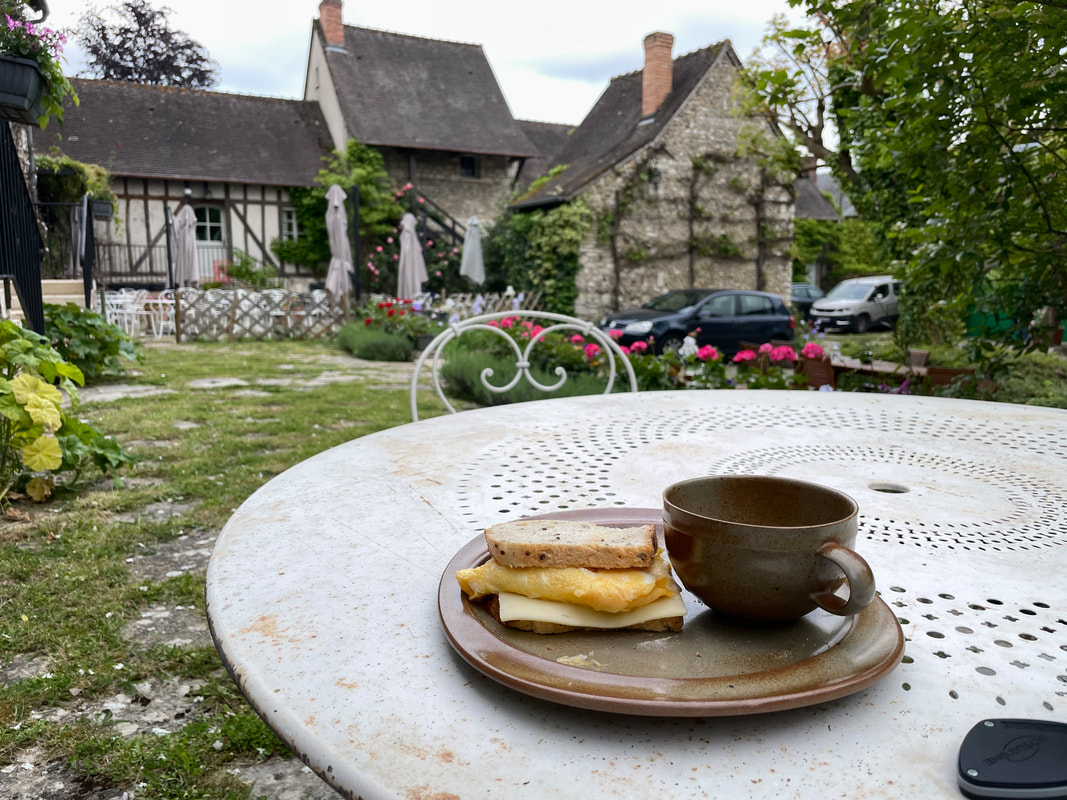
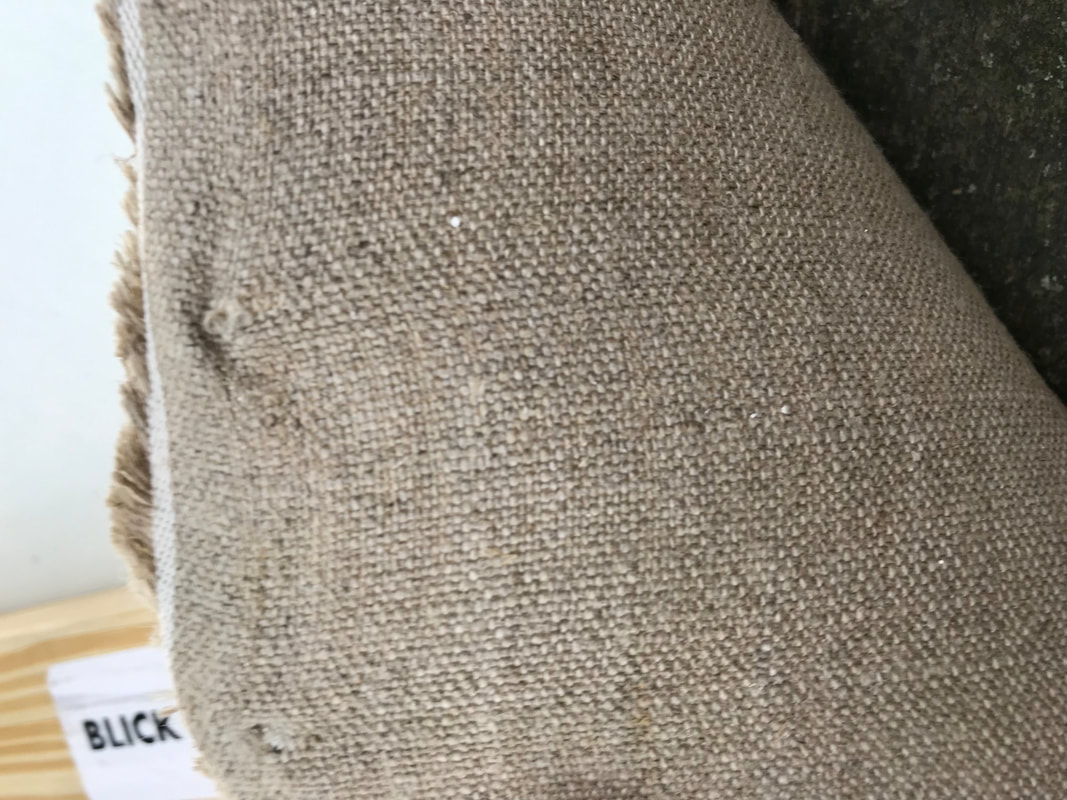
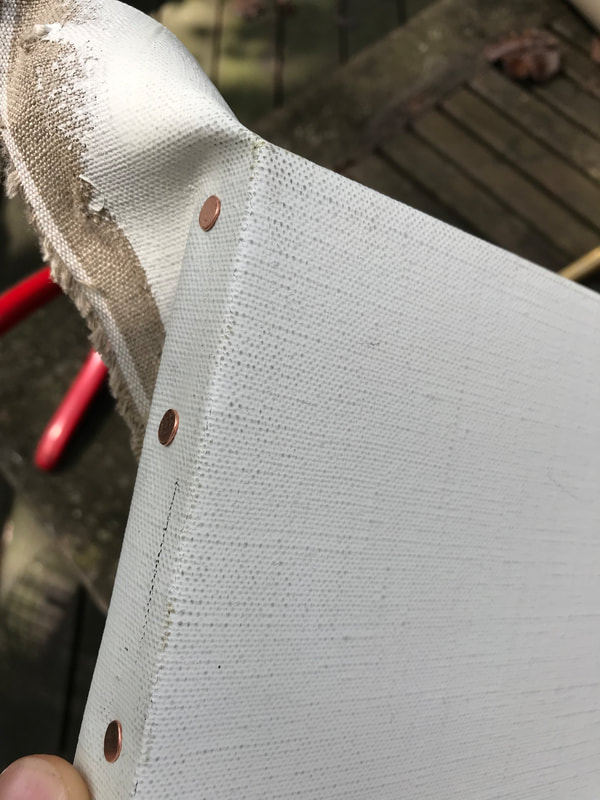
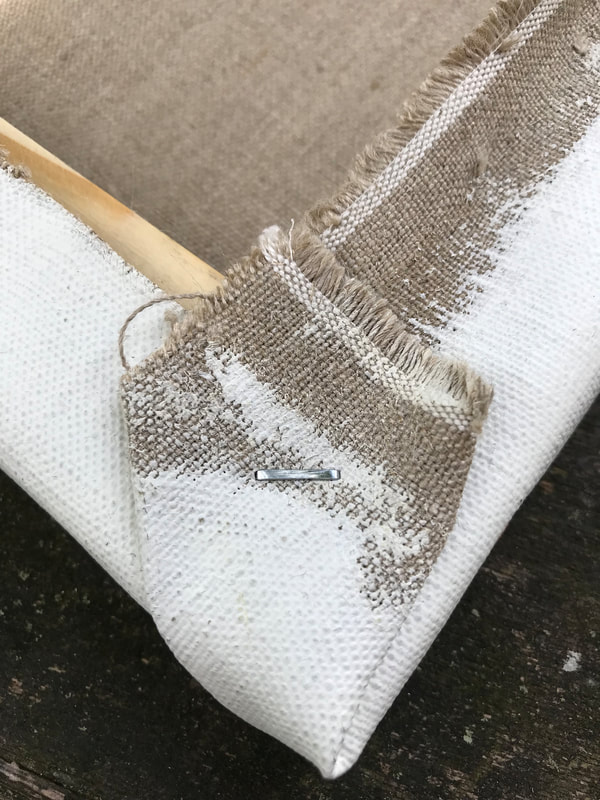
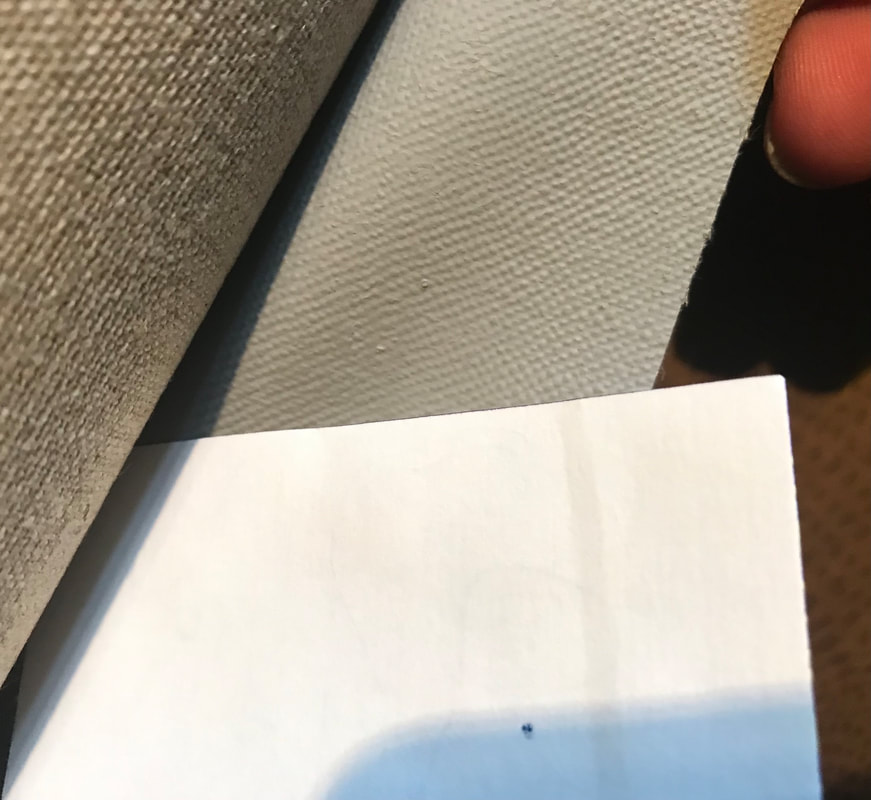
What a day and what an experience thus far. I took my first trip into Paris with my program director; We traveled from Vernon to Gare Saint Lazare, which was another favorite spot of Monet. Our journey was to purchase supplies from the original Magasin Sennelier from 1887. I was mainly seeking a roll of oil ground canvas and was being shown a sample book with various surfaces; the gentleman helping me spoke English and was very kind; unbeknownst to me.. I was speaking with a legend because it was Monsieur Sennelier himself (the grandson of the original founder). The entire store was beyond amazing and I could write an entire post about it. Everything was done with care and personal attention. I had quite a shopping list so we were busy while we were there. All the products are the highest quality and it makes me so happy that a place like this exists. I was also being helped by M. Sennelier's daughter who will follow him as 4th generation owner. The journey to bring back the materials involved carrying my roll (over 2 meters long) through Paris back to the station - the last picture below shows my canvas roll stored by the bike rack on the train back to Vernon. I felt like a true artist, bringing my canvas roll and supplies back to Monet's estate Lastly, I'm sharing some photos of the delicious food that I've been enjoying. I know I've only been his since Saturday, but it's been absolutely wonderful. I can't wait to start painting tomorrow! Some interesting history and great close-ups of this beautiful painting. I always love seeing the brushstrokes and texture of the painted surface. I just received two rolls of medium/heavy weight lead double-primed canvas that I ordered for some larger paintings. I ordered one roll of gray and one of white (photos below). I've noticed that medium and heavier weight linen works well for larger paintings because the lighter/finer linen tends to pucker and warp. This beautiful canvas is from A.E. Art Canvas Priming in the Bronx, N.Y. - I've written about this company before, but I want to give them another shout out because Mr. Angel De La Cruz is a great craftsman. He does completely custom orders so whatever you want, he makes. This is difficult to find nowadays and it's especially difficult to find lead primed linen. Also, before I ordered, he graciously sent me samples of linen (for free) to see which one I preferred. You can reach Angel via email: aeart05@aol.com and their address is: A E Art Canvas Priming 605 East 132nd Street Bronx NY 10454 (718) 665-3814 Here are some images of the heavier weight double-primed lead canvas - linen #77 |
Archives
April 2024
Categories
All
|

 RSS Feed