|
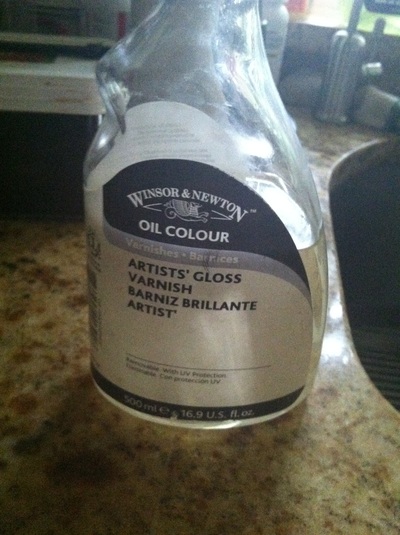
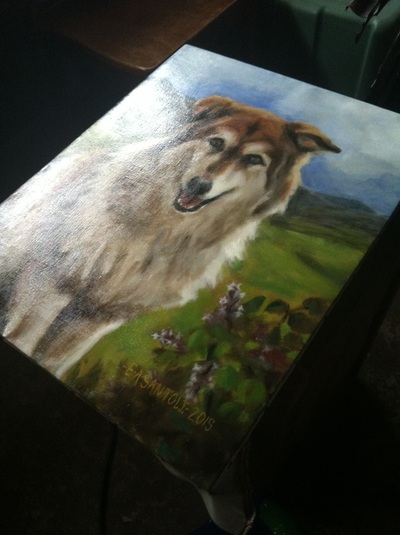
Varnishing is the last step in the painting process. It's a beautiful step because it breathes life back into the painting, color and surface. There are several types of varnish with all sorts of effects that can be achieved. I encourage everyone to read about the different types of varnishes. The tips below will cover handy advice for when you choose a varnish. 1.) Clean and Prepare the Surface
Once your painting is totally dry to the touch, it's time to begin varnishing. Varnish is a sticky substance, derived either from synthetic resins or natural resins; naturally, dust, dirt and debris can easily become caught in the varnish when you're applying it. The best way to clean and prepare the surface is to take a dry cloth and gently wipe down the entire painting. Don't use a paper towel because you don't want any paper to get stuck on the surface. 2.) Choose a Soft Brush For varnishing, the best brush you can use is a soft brush. Bristle brushes are great for painting, but cause irregularities when you're varnishing. You don't need a large brush, but make sure you have one that can cover the surface easily. I use a synthetic, white brush, which is about an inch and a half wide. 3.) Apply the Varnish Using Light Choose a dry and dust free space to varnish your painting. You don't need to use a large amount of varnish, in fact it's better to use a little bit at a time. Experience will give you an idea of how much varnish a painting needs. The best way to check the surface for dry spots is to tilt the painting into a light source. Tilt the painting back and forth and keep applying varnish until the entire surface is covered in varnish. One coat of varnish should be sufficient for more paintings. 4.) Drying the Varnish Once you are happy with the coverage of the varnish, then let the painting dry in a dry atmosphere. Don't let the varnish dry outside, as particulates may become stuck in the surface. The best place is often a basement or other dry atmosphere. A humid atmosphere can cause blooming, which is the formation of a white and cloudy appearance over the surface. You can read about blooming in any quality oil painting guide. The drying time of a varnish depends on the varnish itself; some varnishes dry within an hour, and some varnishes, such as dammar varnish, take days to fully dry. The beauty of varnishes fascinates me and I hope you gleaned some knowledge from these few tips. *Warnings on Varnishing: Like so many practices with oil painting, you will find a mountain of evidence supporting claims of the harmful effects of varnishing an oil painting before it is thoroughly dry. The recommended period is 6 months to let an oil painting dry. It's a somewhat subjective matter, but I recommend you do your own research and form your own opinion about varnishing. I encourage diligent research because knowledge is power. There is a truth that varnish provides a protective surface that will survive for several years.
0 Comments
Your comment will be posted after it is approved.
Leave a Reply. |
Archives
July 2024
Categories
All
|


 RSS Feed