HOME
BIO
PORTFOLIO
DRAWINGS
WATERCOLORS
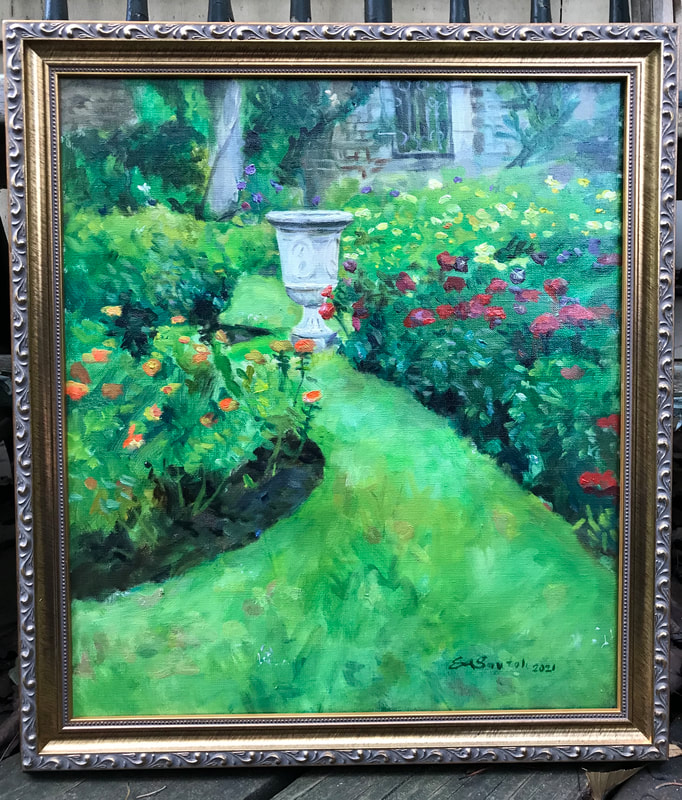
OIL PAINTINGS
2023 GIVERNY RESIDENCY
COMMISSIONS
TEACHING
TESTIMONIALS
WORKSHOPS
SHOP
LINKS
CONTACT
BLOG
HOME
BIO
PORTFOLIO
DRAWINGS
WATERCOLORS
OIL PAINTINGS
2023 GIVERNY RESIDENCY
COMMISSIONS
TEACHING
TESTIMONIALS
WORKSHOPS
SHOP
LINKS
CONTACT
BLOG


 RSS Feed